So I Bought a 23 Year Old iMac
I was in college when Apple released the iMac G4. I had only been a Mac user at that point for a couple of years. My beloved Titanium PowerBook G4 was a great computer, and I had no real use for a desktop. But that iMac G4 was just so cool and stunningly beautiful. I wanted one so badly!
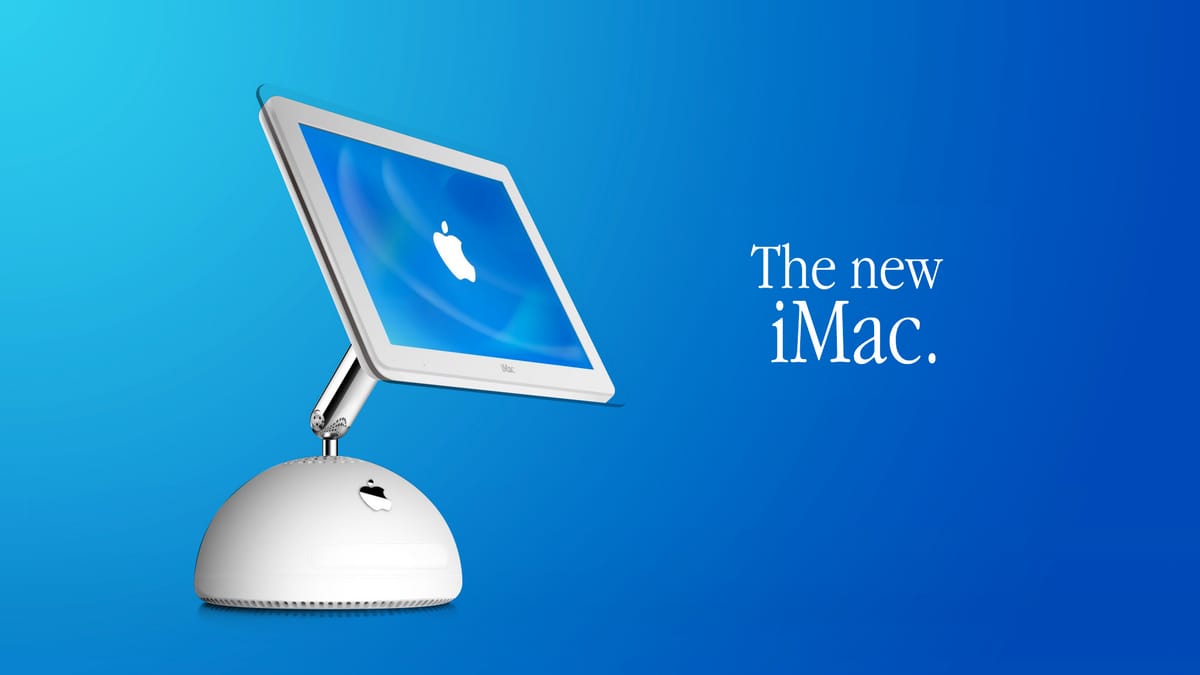
I mean, wouldn’t you? Here’s the original ad, showing in a playful way just how approachable this device was:
I didn’t really need it and couldn’t afford it, but thankfully, one of my journalism classes was in a computer lab classroom that was filled with iMac G4 machines. Even though I never actually had one of my own, at least I was able to say I got to use one regularly, for at least a semester of college.
But all that changed this week when I finally decided to get one of my own! I’ve been interested in vintage Apple computers for a while. I even had a great condition Apple II in my eBay cart for several weeks before deciding against it. But when the iMac G4 bug bit, I just couldn’t resist the nostalgia of it.
I found a reasonably priced 17” iMac G4 on eBay that was in working condition. The listing said that it was locked and they didn’t know the password, so I think I was able to get it a little cheaper than I would have if it had been in complete working order. And just like that, a computer manufactured 23 years ago was headed my way!
When I ordered the iMac, I also bought a Juicy Crumb DockLite G4, an ingenious creation that allows you to convert an iMac G4 into an external monitor and docking station for a modern Mac. My plan was to install the DockLite and then use the iMac on my desk as another monitor or maybe on another table as a fancy digital photo frame or something like that. Basically a nerdy show piece.
But once the iMac arrived, I started having bigger thoughts. The LCD screen on the iMac G4 was fine for the time, but nothing like the monitors we have today. I knew that I wouldn’t be happy with the stock screen in the long run. It might be fun to use every once in a while as a secondary display for my laptop, but I don’t really know how often that would be since the sub-HD 1440x900 screen resolution is just so low.
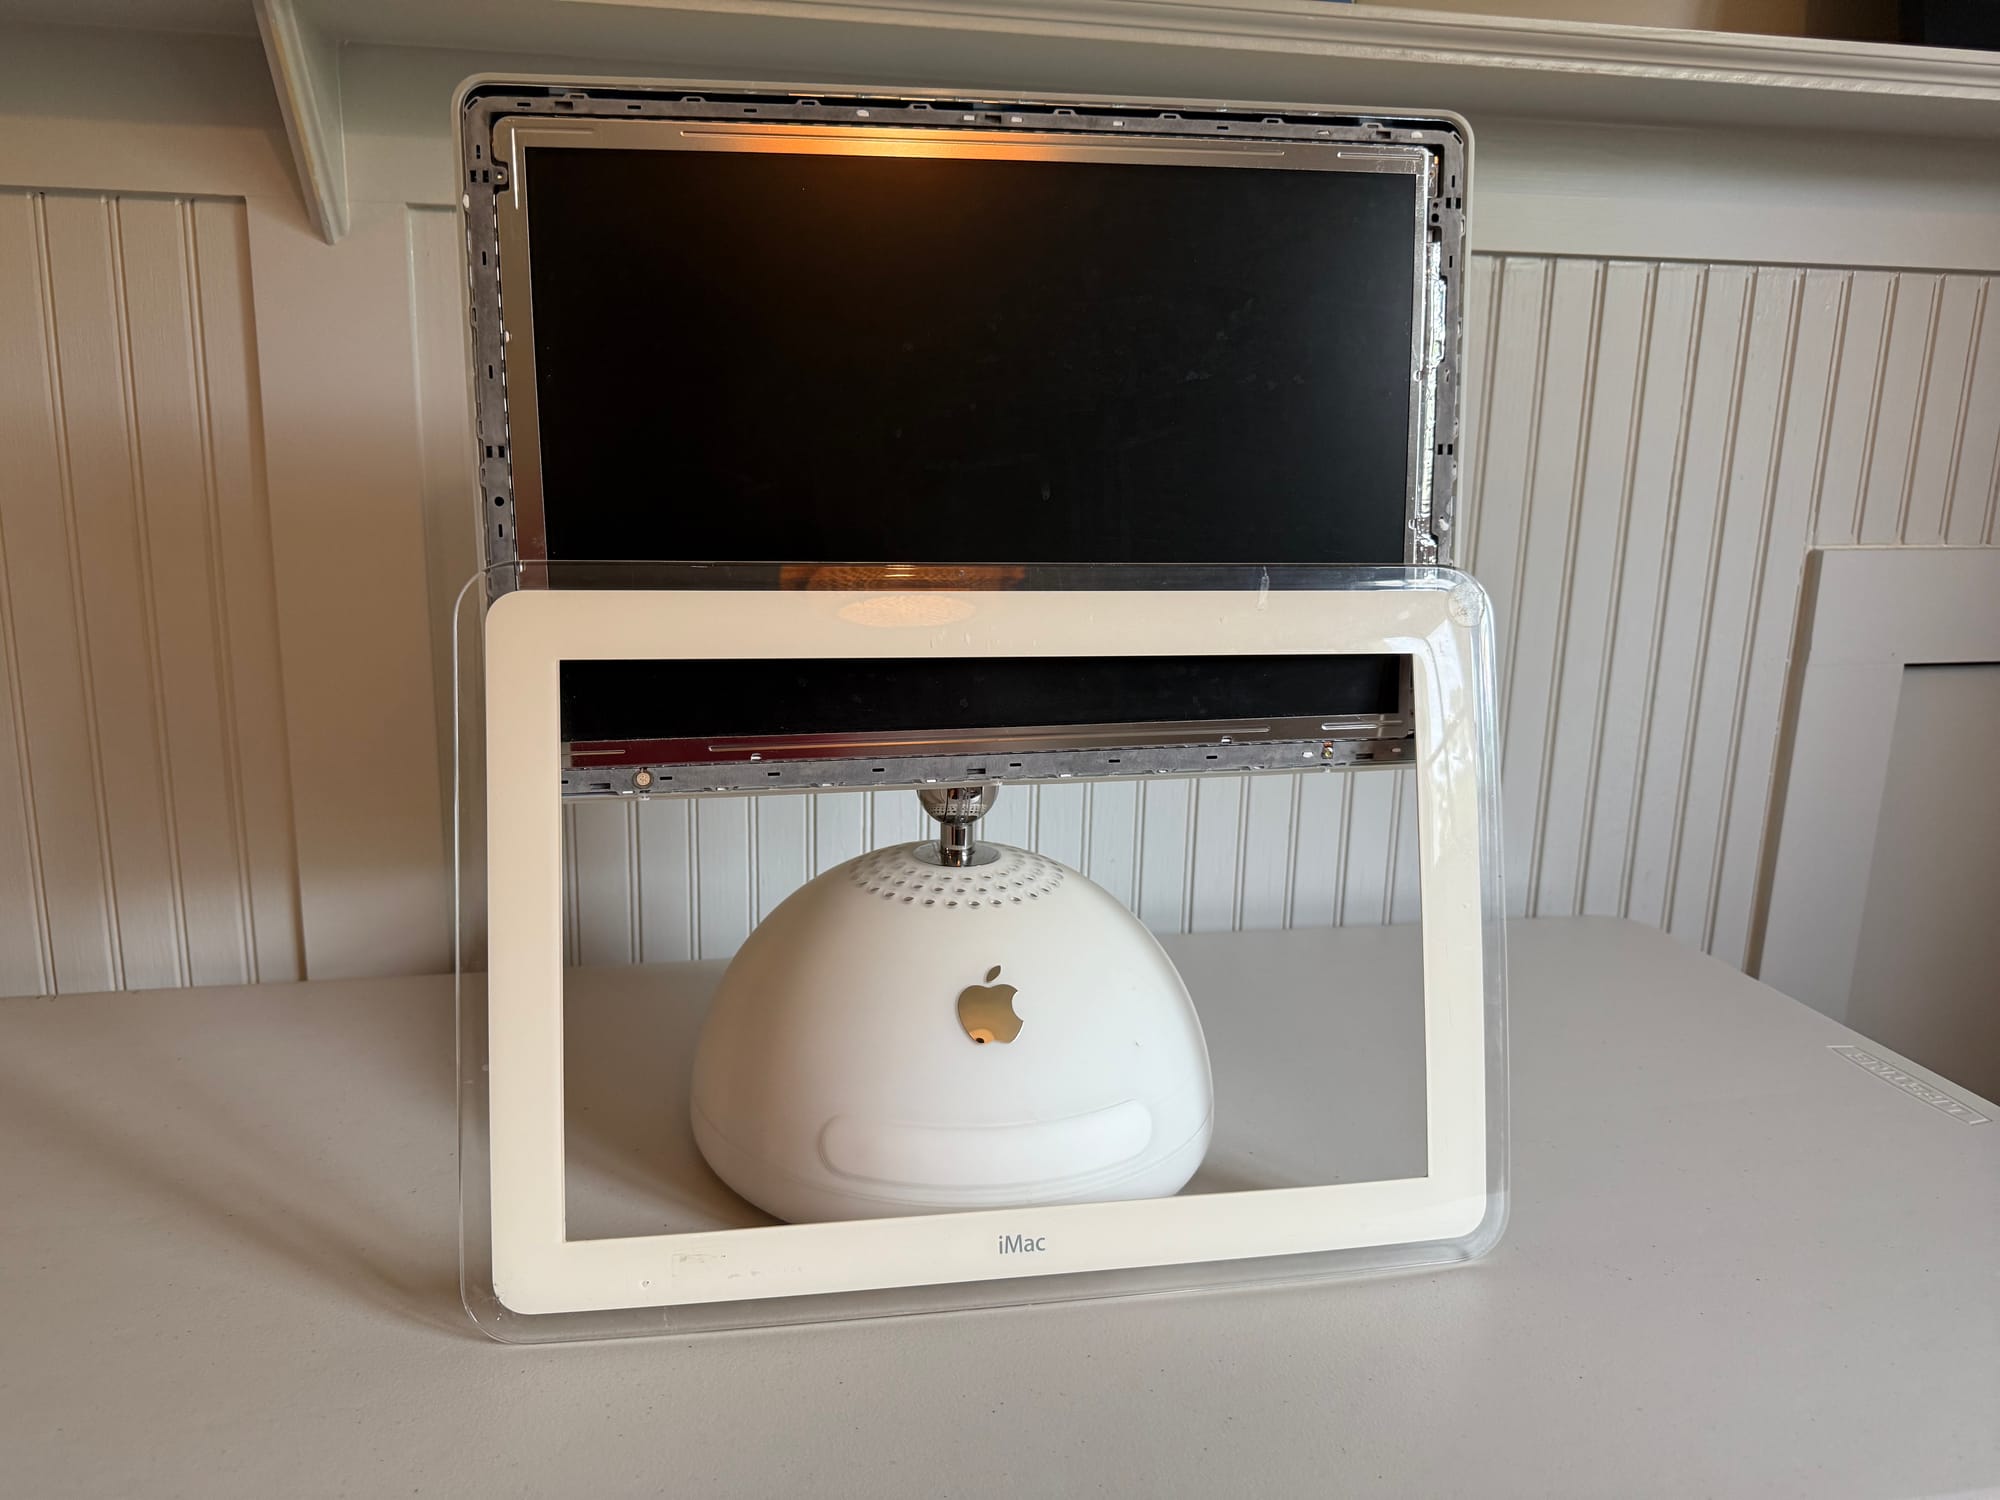
So began the research. The screen bezel had already fallen off the iMac during shipping, so I was able to easily measure the size of the LCD panel. That, combined with some ChatGPT research led me to discover that there are some other, more modern, LCD panels that should fit.
The 17” iMac G4 LCD screen has a 16:10 aspect ratio. This is common in a few laptop lines but not super common in external monitors. So I began to explore my options.
The first option was to follow what I found on YouTube, where Hugh Jeffreys changed out the display for one from a 17” MacBook Pro, which has similar dimensions. This was a good option and the video made it seem easy enough to do. The later 17” MacBook Pro models had a 1920x1200 resolution, which is a good step up from the native iMac display.
Then I discovered that there are some other PC laptops, namely the Dell XPS 17, that also has a 17” 16:10 screen. It sports a 3840x2400 resolution, also known as WQUXGA, which is a bit higher than 4K due to the slightly different aspect ratio — it’s a little taller than a typical 4K display. This resolution in a 17-inch display puts the pixel density at about 266 pixels per inch (PPI). That’s even a little higher than the current 2025 MacBook Pro 16”! Apple considers anything above about 220 PPI as “Retina,” so one of these LCD panels could potentially turn the iMac G4 into an external Retina display!
I want to point out that I have no experience with this kind of work, so a lot of searching, ChatGPTing, and reading led me to discover that you need to have a specific LCD controller connected to the display to get it to work. These exist, but I needed to decide if I was willing to take on this level of refurbishment work myself.
I did spend some time looking into just buying a portable USB-C monitor and mounting it in the iMac’s display area. I figured I could even take the portable monitor apart if needed to get everything to fit. This would solve the problem of needing to find an appropriate LCD controller and deal with power. But I searched high and low and couldn’t really find anything that would fit. It seems there may have been one manufacturer that built a 17” 16:10 portable LCD monitor in the past, but they no longer seem readily available.
So I landed back on the Dell XPS screen option. Specifically, I purchased a LQ170R1JX42 LCD LED panel from eBay. It is marketed as an after market replacement LCD panel for the Dell XPS 17.
I got the non-touch version, but it is offered in a touchscreen model. I briefly thought it would be cool to have it as a touch screen, but decided I better not bit off too much as part of this project. Plus, I don’t like the idea of touching computer monitors anyway.
I next needed to find a LCD controller to run the LCD. I learned that a display controller pretty much needs to be perfectly matched to the size and resolution of the screen it is connected to. So I had to search for a controller that was meant for a 17-inch screen, 2840x2400 resolution, and connected via a 40-pin eDP cable. I found a suitable one on AliExpress that claims all of these requirements. (Note: this also means that the Juicy Crumb DockLite G4 won’t work, as it has a display controller that is specific to the OEM panel and cables in the iMac. I’m going to keep it, though, because I figured I might like this project so much that I end up getting another iMac to use it on in the future!)
The LCD panel and the controller should arrive in a few weeks, giving me time to prep the iMac and plan the installation. I still need to explore a few things and make some decisions, but here’s a quick shopping list of what else I need to purchase:
- Video and power cables to run up the arm from the iMac base to the back of the display panel. These have got to be positively tiny to be able to fit through the arm.
- Some kind of docking station to be the “brains” of the base of the iMac. Ideally, I would hardwire this to the original port openings on the back of the iMac to make it seem as native as possible. I’ll also need some way to secure this inside the base, so there might be some 3D printing in the future as well.
- A way to power the LCD panel and controller. Due to the extremely small cable path through the arm, I’m going to need to run a power cable without connectors, so I will need to look for an easy way to add connectors after running the cable and will need to figure out what to provide that power inside the dome.
- A new fan for the top of the iMac base dome. The existing fan is not exactly silent, and I’m going to be removing any internals that might be controlling the fan. Therefore, I think I’m going to need to get a fan that is quiet and self regulating, meaning it will set its own speed based on the temperature inside the iMac. I might not actually need this if the dock doesn’t get that hot, but I wanted to pick one out anyway just in case.
And so the project begins. I’ll post more about the work as it progresses. I have already completely disassembled the iMac to get it ready for its new screen. I took plenty of photos while doing it, so my next post will be about the tear down (and cleaning!) process.
Comments ()